Dry mullein leaves in the oven at low heat with the door cracked until fully crisp, about 1–4 hours.
I’ve spent years drying herbs and teaching others simple methods. In this guide I explain how to dry mullein leaves in the oven safely and well. You will learn step-by-step temps, timing, what to watch for, and storage tips. I share real mistakes I made and easy fixes so you get dry, clean leaves ready for tea, oil, or remedies.
Why oven-dry mullein leaves?
Oven-drying is fast and controlled. Learning how to dry mullein leaves in the oven gives you consistent results. Low heat preserves the mucilage and gentle compounds in the leaf. Oven drying works well when air drying is too slow or weather is wet. I often use the oven when I need small batches ready in a day.

What you need before you start
Prepare a simple kit. Keep tools clean and handy.
- Fresh mullein leaves, picked in the morning after dew dries
- Baking sheet or rimmed tray
- Parchment paper or a silicone mat
- Oven thermometer (optional, for accuracy)
- Cooling rack or wire rack
- Airtight jars for storage
- Small fan or oven door prop (to lower oven temp)
I learned to always use parchment. It stops leaves from sticking and helps air move.

Step-by-step oven method for how to dry mullein leaves in the oven
Follow this clear process for best results.
- Harvest and inspect
- Pick healthy leaves free from mold and bugs. Shake off insects outdoors. Trim off any bad spots.
- Clean and dry
- Rinse briefly if dirty. Pat leaves dry with a towel. Let them air-dry 15–30 minutes so they are not dripping.
- Preheat and set up
- Set oven to its lowest setting. Aim for 95–120°F (35–49°C) if you can. If your oven only goes lower than 140°F, set it to the lowest and prop the door open with a wooden spoon to drop the temp.
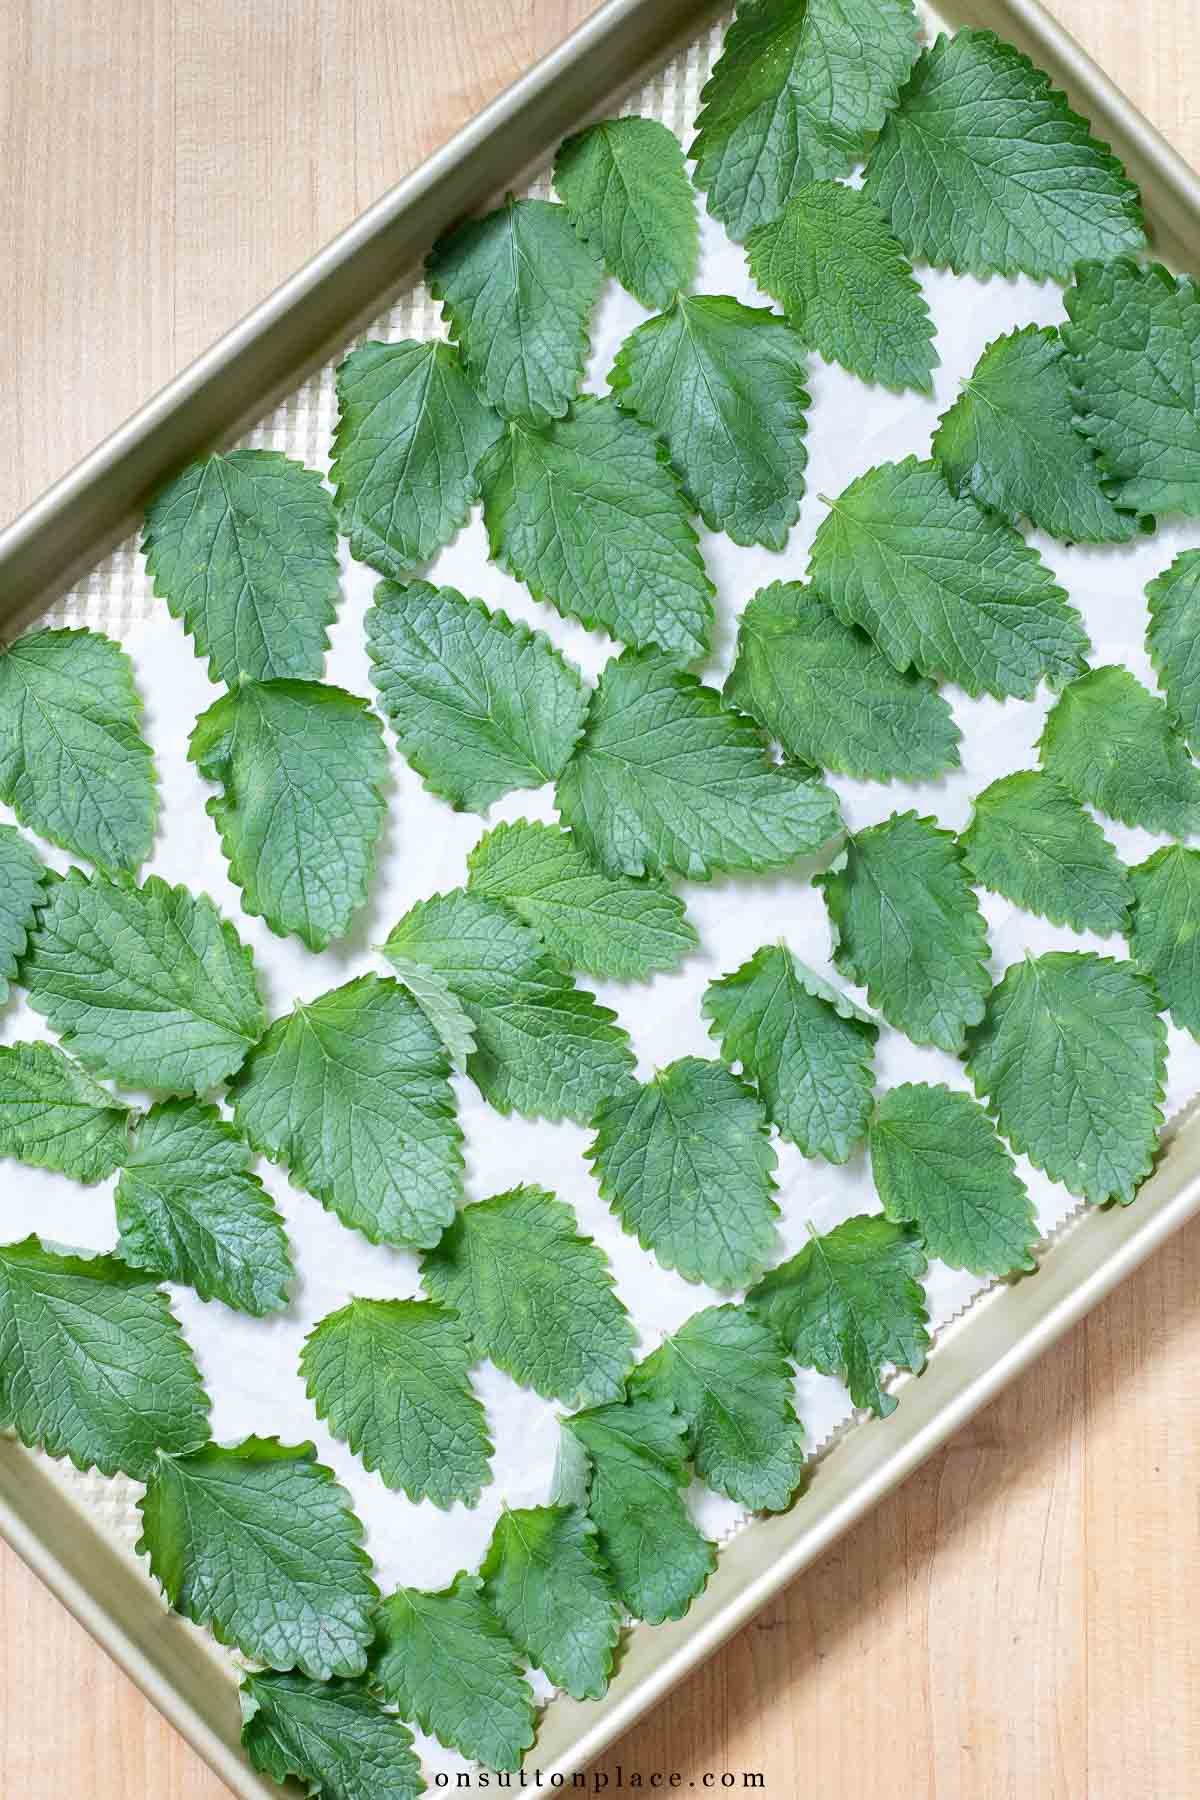
- Arrange leaves
- Place leaves in a single layer on parchment. Leave space between leaves for air. Thicker leaves may be cut smaller for even drying.
- Drying time
- Place tray in oven and check every 20–30 minutes. Total time is usually 1–4 hours depending on oven temp and leaf thickness. Rotate trays and flip leaves for uniform drying.
- Test for doneness
- A properly dried leaf will crumble when pinched. No soft or damp spots should remain. If any moisture remains, return to the oven and check often.
- Cool and store
- Let leaves cool fully on a rack. Store in airtight jars in a cool dark place. Label with date.
I once dried large mullein leaves whole and they stayed leathery in the center. Lesson learned: cut big leaves into halves or quarters next time for even drying.

Tips for best results and common mistakes when learning how to dry mullein leaves in the oven
Use these tips to avoid failures.
- Keep the temperature low and steady to protect mucilage and scent.
- Do not crowd the tray. Crowding slows drying and can cause mold.
- Use an oven thermometer to know real heat. Oven dials can lie.
- Prop the oven door slightly if your oven runs hot. This reduces heat and increases airflow.
- Check often. Small ovens can brown leaves quickly.
- Wear a mask when handling dried mullein dust if you are sensitive. The hairs can irritate lungs.
A mistake I made was skipping the cooling step. Warm leaves in a jar created condensation and ruined the batch. Always cool fully on a rack before sealing.
Storing dried mullein leaves after oven drying
Store right and they last a year or more.
- Use airtight dark glass jars to block light.
- Add a small desiccant packet or a food-safe oxygen absorber for long storage.
- Label jars with date and source.
- Keep jars in a cool, dry cabinet away from heat and sunlight.
- Check jars after one week for any signs of moisture. If moisture appears, re-dry the leaves.
Fresh aroma and color show good storage. If leaves smell stale or show mold, discard them.

Benefits and uses when you know how to dry mullein leaves in the oven
Dried mullein leaves are versatile and mild.
- Tea: Steep leaves for a soothing herbal infusion.
- Infused oil: Gently warm dried leaves in carrier oil for topical use.
- Smoking blends: Some people use dried mullein in small amounts; research safety and legal issues first.
- Crafts: Dried leaves can be used in sachets or potpourri.
Drying mullein leaves in the oven preserves the plant’s gentle texture when done low and slow. I personally prefer oven-dried leaves for oil infusions because they dry clean and quick.

Alternatives to oven-drying and when to choose them
Choose another method based on time and tools.
- Air drying: Best for warm, dry climates. It takes days and keeps oils intact.
- Dehydrator: Offers precise low temps and is ideal if you have many leaves.
- Microwave: Quick but risky. Can scorch and lose key compounds. Not recommended for mullein.
- Shade drying on racks: Good if you lack electricity.
I use a dehydrator for large harvests. For one-off small batches, oven drying is faster and simpler.

Frequently Asked Questions of how to dry mullein leaves in the oven
How long does it take to dry mullein leaves in the oven?
Drying time varies by oven temp and leaf thickness. Expect 1–4 hours at low heat, checking often for crispness.
What oven temperature is best for mullein leaves?
Aim for 95–120°F if possible. If your oven runs hot, use the lowest setting and prop the door to reduce heat.
Can I dry whole mullein leaves in the oven?
Yes, but large leaves may dry unevenly. Cutting big leaves into halves helps them dry all the way through.
Will oven drying destroy the herb’s properties?
High heat can reduce some volatile compounds. Drying low and slow preserves most mucilage and aroma.
Is oven-dried mullein safe to store long-term?
Yes, when fully dry and stored in airtight jars in a cool dark place. Check jars for moisture after sealing.
Conclusion
Oven-drying mullein leaves is a fast, reliable way to get usable dried leaves when done carefully. Keep heat low, check often, and store dried leaves in airtight containers. Try my step-by-step method on a small batch first, note what works in your oven, and scale up once you have a routine. If this guide helped, try drying a couple of leaves today, leave a comment with your results, or subscribe for more herb drying tips.