Remove the container, press the base, unscrew the blade assembly, replace seal and blades carefully.
I’ve fixed many blenders and studied Vitamix care for years. This guide shows exactly how to change vitamix blade with clear steps, safe tips, and part advice. Read on to learn the tools, step-by-step actions, and common traps to avoid so you can replace the blade with confidence.

Why and when to change your Vitamix blade
Blades wear out over time. Dull blades cut poorly and strain the motor. Leaks or wobbles mean the blade pack or seal needs change.
Changing the blade restores performance. It keeps blends smooth and the motor safe. Knowing how to change vitamix blade saves time and money.

Tools and parts you need
Here are the basic tools and parts you will need to change a Vitamix blade:
- Replacement blade assembly that fits your model. Check model number on the base.
- New gasket or seal. This prevents leaks.
- 1/2 inch wrench or socket for older models. Some newer models use a blade wrench.
- Soft cloth and dish soap for cleaning. Avoid harsh abrasives.
- Gloves to protect hands from sharp edges.
I always keep a spare gasket in the drawer. That small step stopped many leaks for me.
Step-by-step: how to change vitamix blade
Follow these steps to replace the blade assembly safely and correctly.
-
Unplug the machine and remove the container.
- Ensure the machine is off and unplugged.
- Take off the container and lid.
-
Empty and rinse the container.
- Remove food and rinse with warm water.
- Dry the jar to avoid slipping.
-
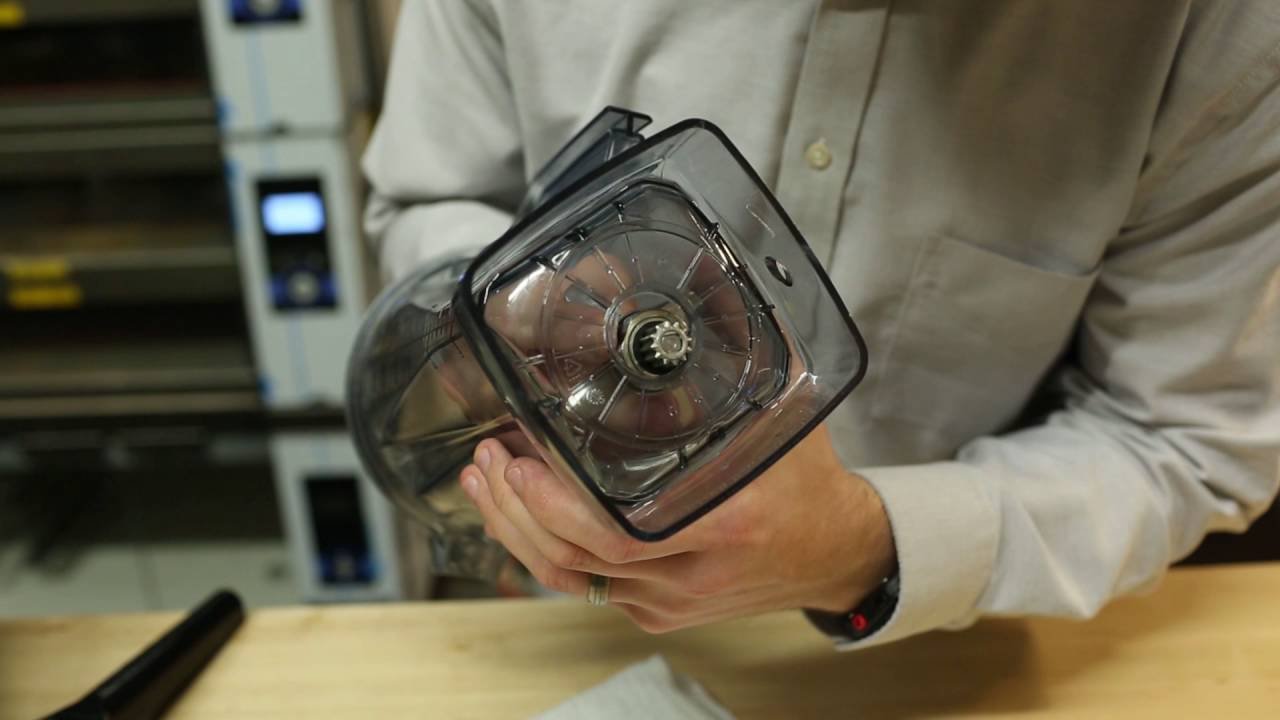
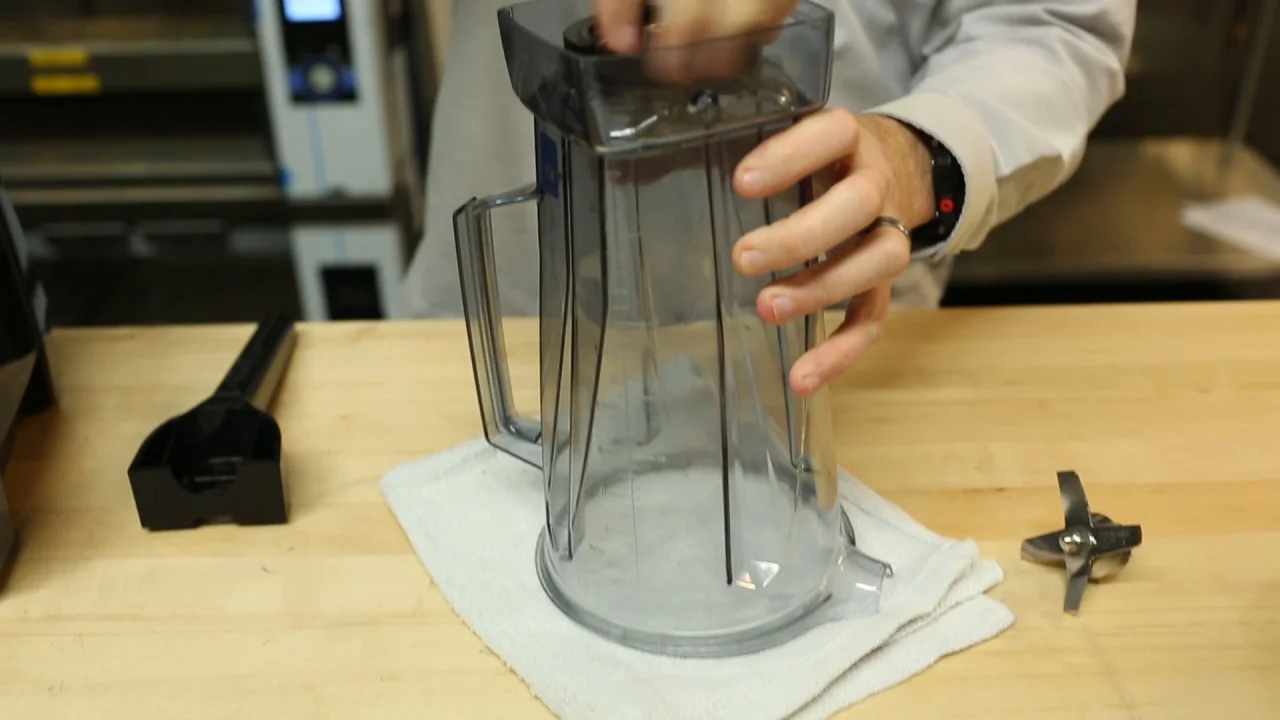
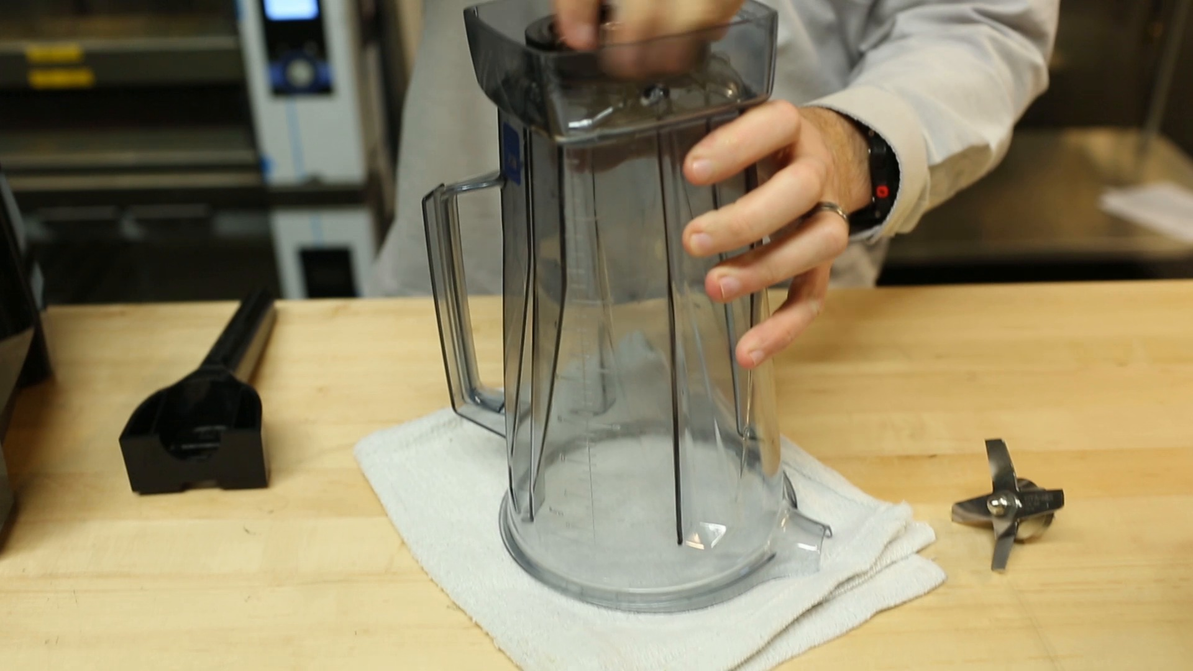
Remove the old blade assembly.
- Turn the jar upside down.
- Hold the base and turn the blade assembly counterclockwise. Use a wrench if tight.
- For sealed packs with screws, remove screws first.
-
Inspect and remove the old gasket.
- Pull out the old gasket and check for cracks.
- Clean the blade well with a cloth.
-
Install the new gasket.
- Place the new gasket flat and centered.
- Make sure it sits evenly on the groove.
-
Fit the new blade assembly.
- Insert the new blade pack. Align it straight.
- Tighten clockwise by hand first, then snug with a wrench. Do not over-torque.
-
Test for leaks and wobble.
- Add a cup of water. Blend briefly on low speed.
- Check for seepage or noise. Tighten slightly if needed.
I learned to test with water first. It saved a shaken carpet once.

Cleaning, reassembly, and sealing tips
Clean all parts before reassembly. A clean surface helps the seal sit right. Use warm water and mild soap. Rinse and dry well.
When seating the gasket, press evenly. A tilted gasket causes leaks. Tighten the blade pack until snug. Avoid over-tightening to prevent damage.
If you feel resistance when turning, stop. Re-check gasket alignment. Small misalignments cause leaks later.
Troubleshooting common issues
If you see leaks, check the gasket and blade pack tightness. Replace the gasket if cracked or compressed. If noise or wobble persists, the blade bearings may be worn.
If the jar spins, inspect the coupling on the motor base. Debris can block the coupling. Clean the base area and test again.
If you’re unsure about a part, take a clear photo and compare it to parts lists. Ordering the wrong blade wastes time and money.

PAA: How long does a Vitamix blade last?
Most blades last several years with normal home use. Heavy use or blending fibrous items speeds wear.
PAA: Can I replace the blade myself?
Yes, you can replace it with basic tools and care. Follow the steps above and test with water first.
PAA: Do I need a professional for blade replacement?
You rarely need a pro for a simple blade pack swap. Seek help if the motor coupling or base has damage.

Compatibility, replacement parts, and where to buy
Match the blade pack to your model number. Vitamix models use specific blade assemblies. Buying the wrong part is the most common mistake.
Authorized retailers and official parts sites sell correct parts. Look for OEM parts for best fit and safety. Aftermarket blades can be cheaper but vary in quality.
Keep receipts and part numbers. They help if you need warranty support.

Maintenance schedule and tips to extend blade life
Routine care helps blades last longer. Rinse the jar after each use. Avoid grinding very hard foods without liquid.
Sharpening blades is not typical or recommended. Replace the blade pack when performance drops. Log the date you replace blades. This helps track life span.
I replace mine every 3–5 years. Heavy daily use shortens this.

Frequently Asked Questions of how to change vitamix blade
How do I know which blade assembly fits my Vitamix?
Check the model number on the motor base and the jar. Match that number to the part listing. If unsure, compare photos before buying.
Is it safe to change the blade myself?
Yes, if you unplug the unit and use basic care. Wear gloves and test with water before blending food. Stop if anything feels wrong.
How much does a replacement blade cost?
Prices vary by model and vendor. Expect a range from affordable to higher end for OEM parts. Factor in gasket cost too.
Can I reuse the old gasket?
Reusing an old gasket risks leaks. Replace the gasket if it shows wear. New gaskets are inexpensive and worth the cost.
What if the blender still leaks after replacement?
Check gasket placement and blade pack tightness. Inspect for cracks in the jar rim or blade housing. Contact support if problems persist.
Conclusion
You now know how to change vitamix blade step by step. Follow safety steps, use the right parts, and test with water first. Small care keeps your Vitamix strong and steady.
Take action today: order the right blade and gasket, set aside 20 minutes, and replace the blade with confidence. Try the steps, leave a comment if you need help, or subscribe for more kitchen care tips.