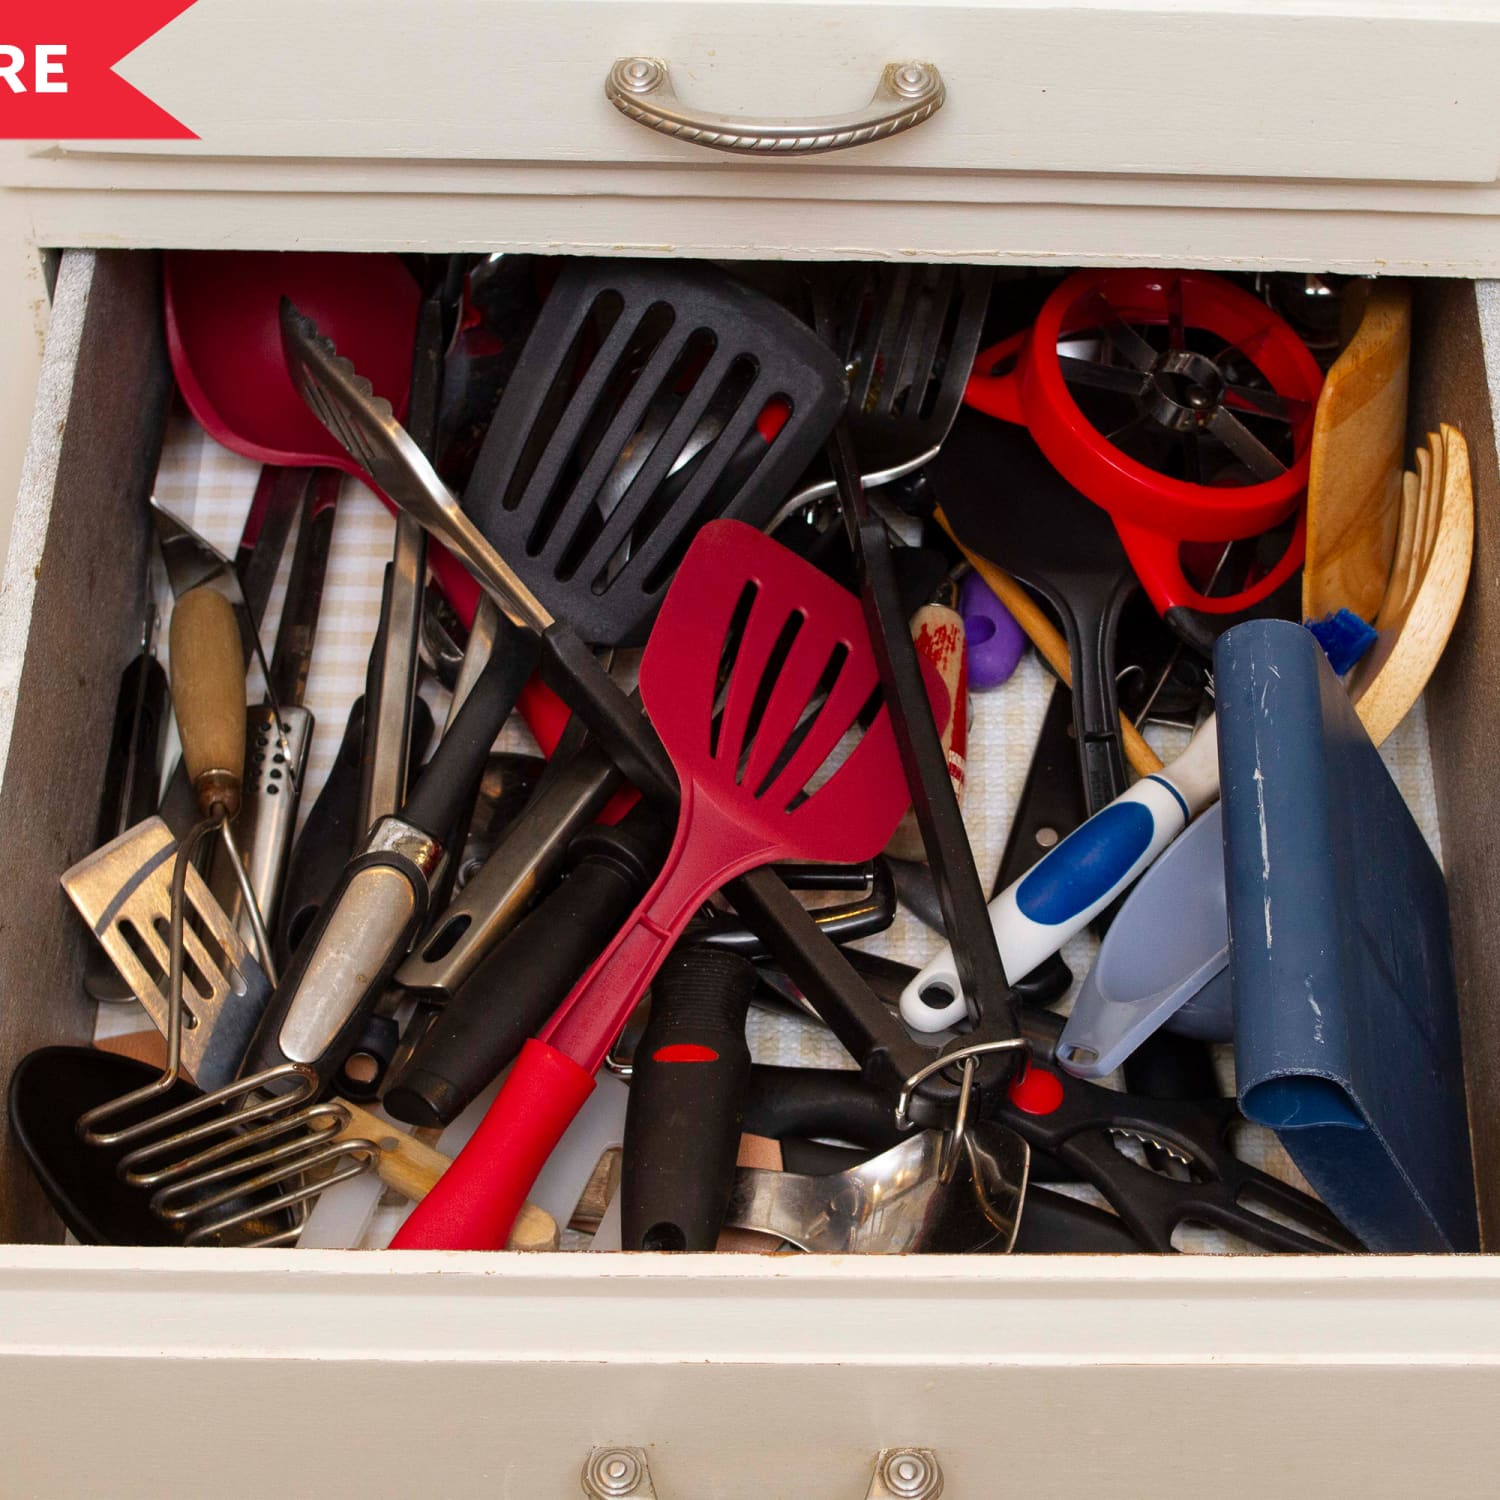
Start by emptying the drawer, sorting items into keep, donate, and toss piles.
I’ve organized dozens of kitchens and taught simple systems that last. This guide on how to organize a utensil drawer walks you through planning, tools, step-by-step setup, and upkeep. You’ll learn practical layouts, product picks, and quick fixes I use at home to make utensil drawers tidy, fast, and stress-free.

Why organize your utensil drawer?
A neat utensil drawer saves time when cooking and keeps counters clear. Cluttered drawers make mornings slower and increase wear on utensils. Organizing your utensil drawer helps you see what you own, stop buying duplicates, and protect fragile tools.
Experience note: I once kept spatulas and whisks mixed with junk in one drawer. After organizing, meal prep time dropped and I stopped buying replacements I already had.
Tools and supplies you need
Gather these items before you start. They make the job faster and the result cleaner.
- Drawer organizers or adjustable trays for compartments
- Small bins or cups for odd items
- Non-slip drawer liner to keep items from shifting
- Labels or a label maker to mark zones
- Trash bag for broken items and a box for donations
- A tape measure to size dividers and organizers correctly
Practical tip: Measure drawer width, depth, and height. That avoids buying organizers that do not fit.
Step-by-step: how to organize a utensil drawer
Follow these clear steps. Work one drawer at a time. Keep sentences short and actions simple.
- Empty the drawer
- Remove everything. Wipe the drawer clean. Check for crumbs and moisture.
- Sort items into categories
- Group forks, spoons, knives, cooking utensils, small gadgets, and odds-and-ends.
- Edit ruthlessly
- Toss damaged items. Donate duplicates and things never used.
- Measure and plan layout
- Note drawer dimensions. Plan compartments by frequency of use.
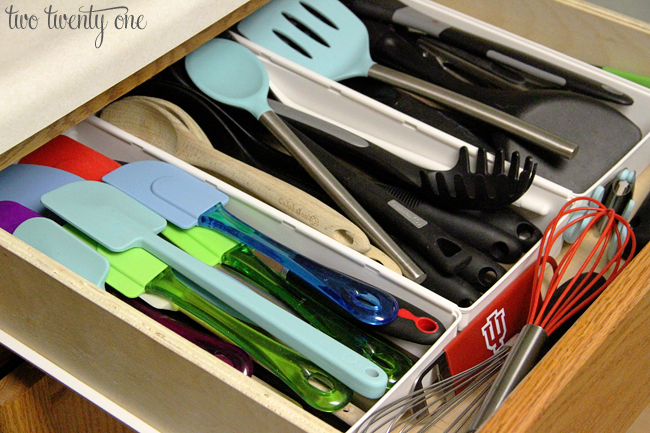
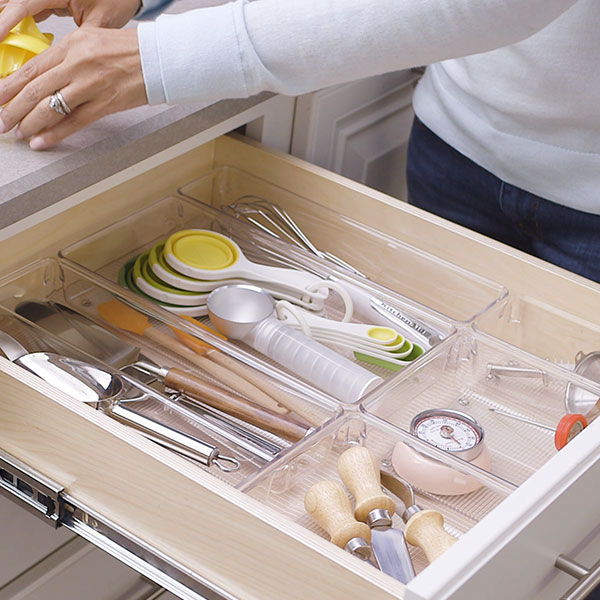
- Choose organizers
- Place flatware tray near the front. Reserve deep compartments for bulky utensils.
- Arrange by use and reach
- Keep everyday flatware closest to where you set plates. Put seldom-used gadgets in the back.
- Label zones
- Use simple labels like Forks, Spoons, Serving. Labels help everyone maintain order.
- Finalize and test
- Close and open the drawer a few times with items inside. Adjust if things jam or shift.
Personal note: I place my most used spatula and tongs in a shallow cup at the front. It saves time when I’m cooking quickly.
PAA-style question 1: How long does it take to organize a utensil drawer?
- A focused session takes 20–40 minutes. Larger drawers with many items may take an hour.
PAA-style question 2: What is the best organizer for utensils?
- Adjustable compartment trays and bamboo flatware organizers are top choices for most kitchens.
PAA-style question 3: Where should I put rarely used gadgets?
- Store them in the back of the drawer or in a nearby cabinet, labeled so you can find them when needed.

Best organizers, materials, and layout ideas
Choose materials that match use and style. Here are practical options and layout schemes.
Materials and pros
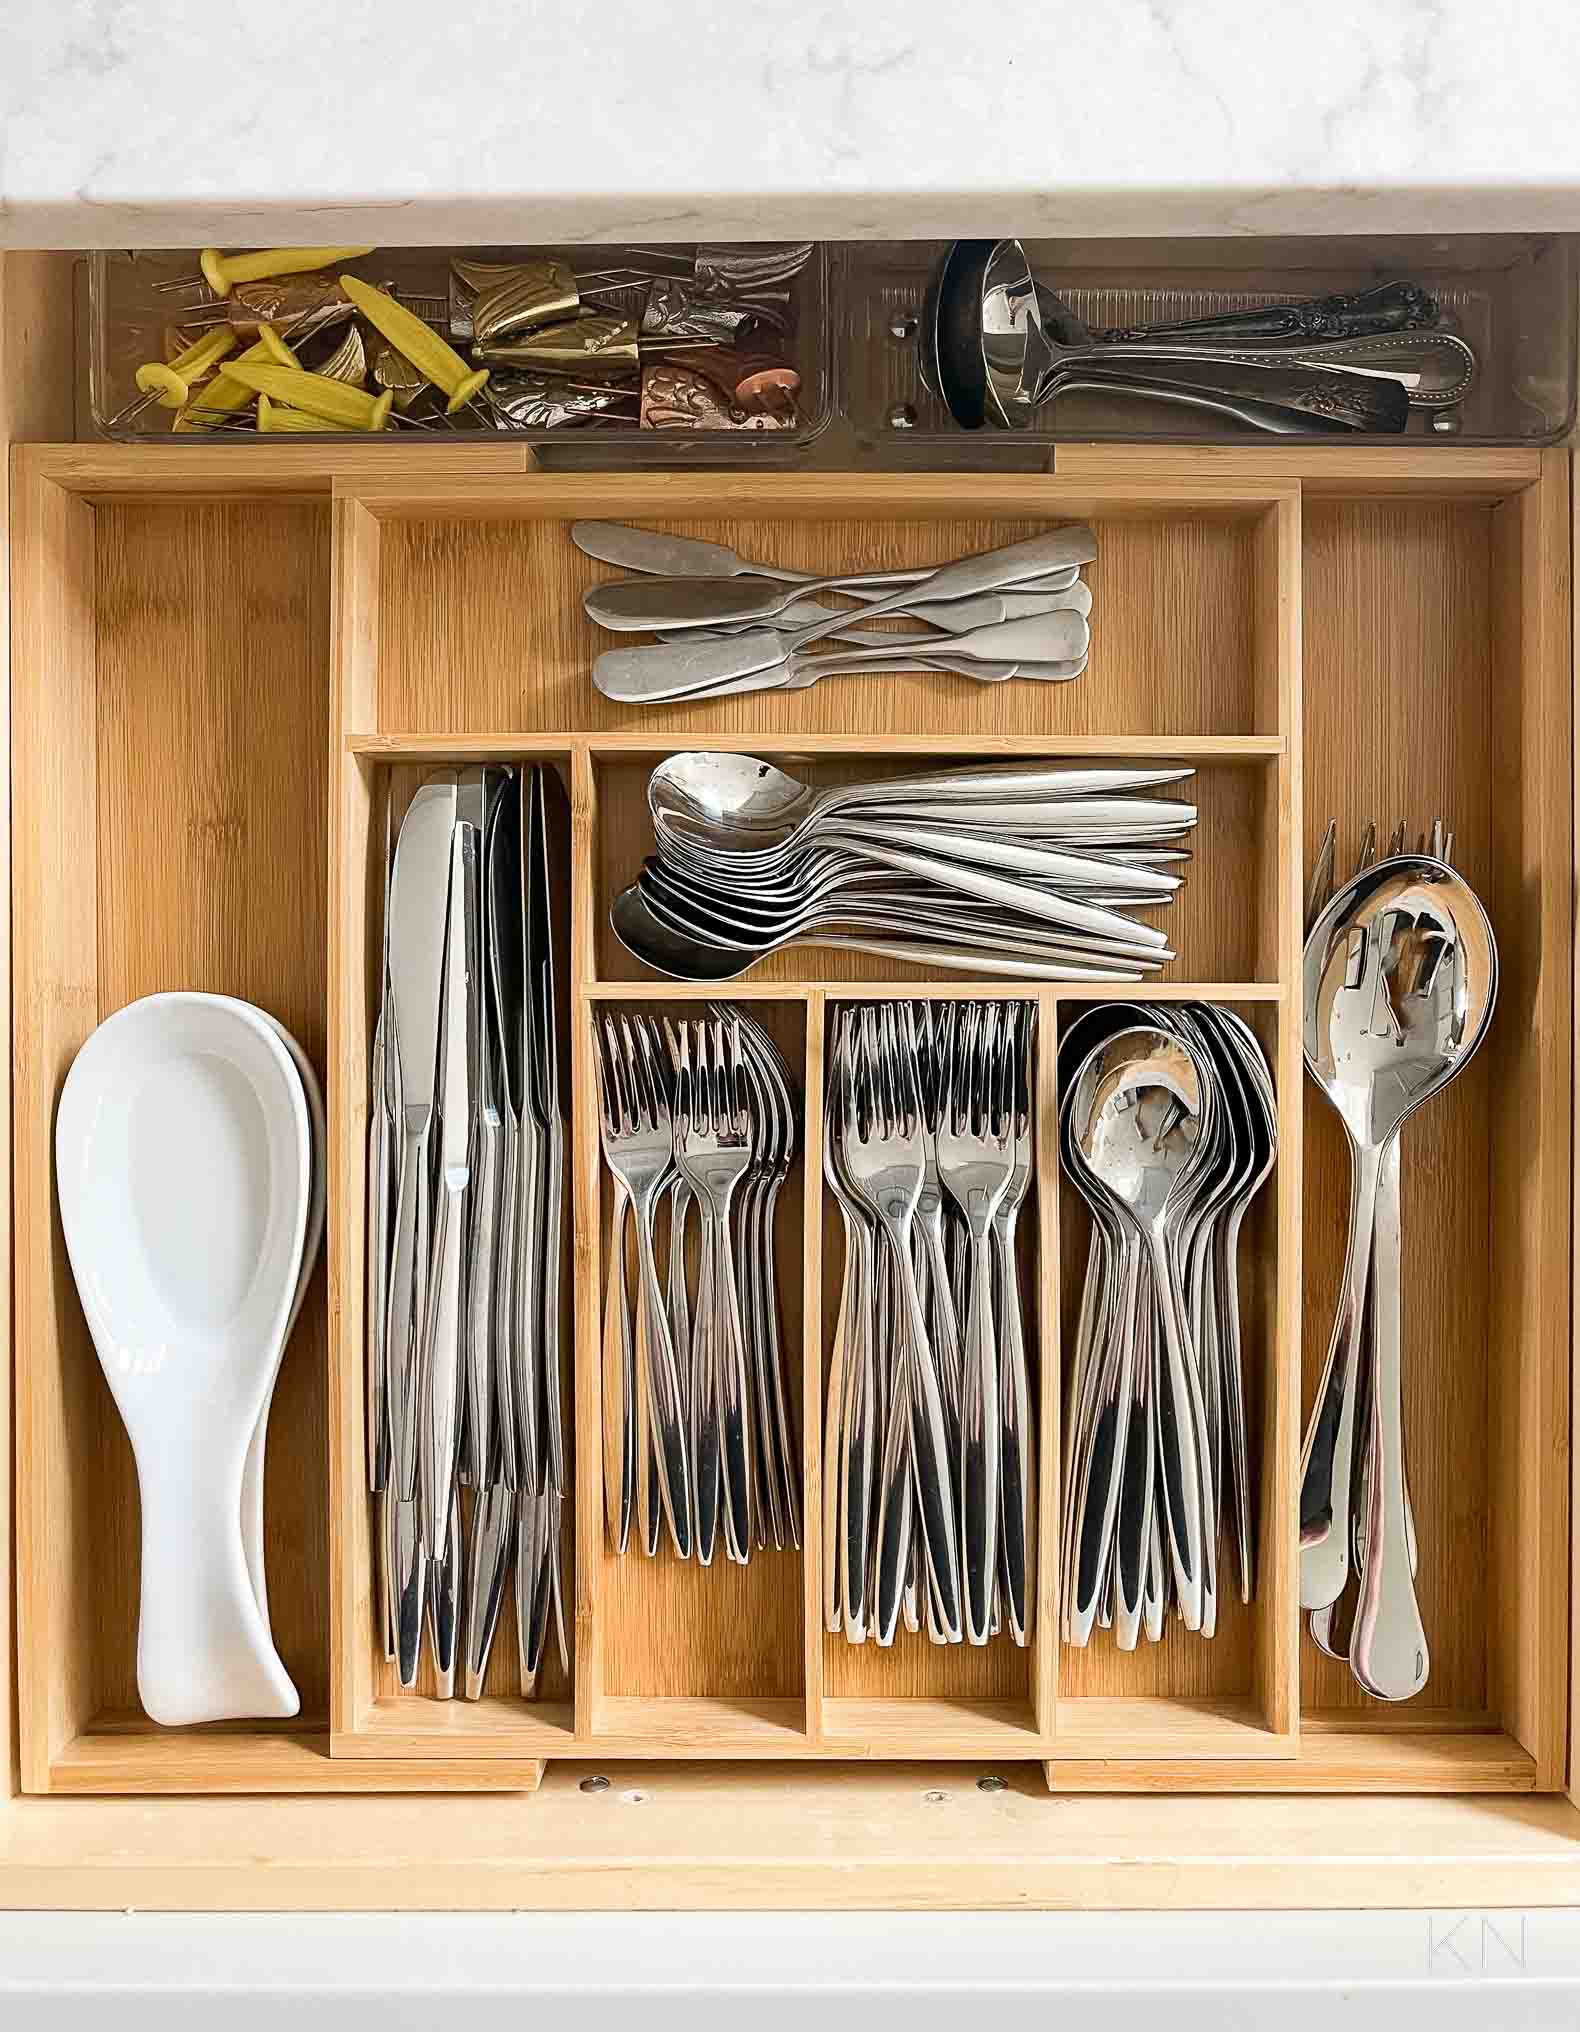
- Bamboo trays — durable, warm look, gentle on utensils
* Plastic adjustable trays — flexible fit, easy to clean, budget-friendly - Metal dividers — slim profile, strong, for heavy gadgets
- Fabric or felt liners — prevent rattling, protect finishes
Layout ideas
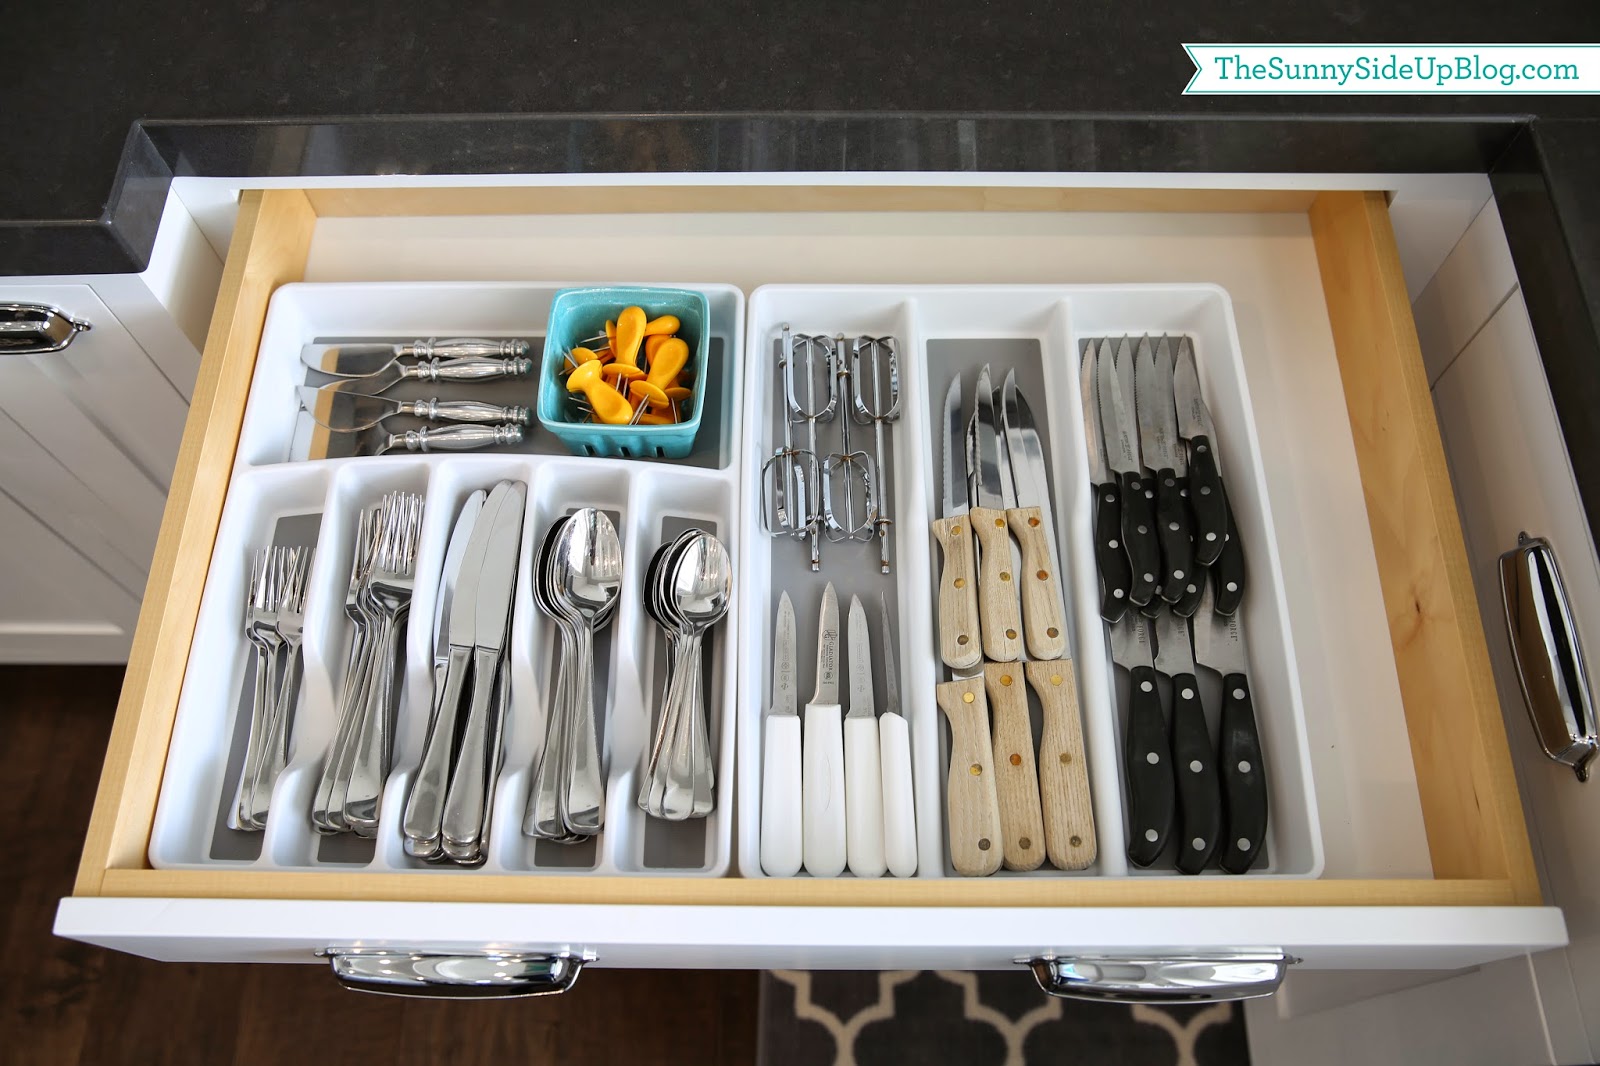
- Zone layout — sections for eating utensils, prep tools, and cooking tools
- Modular layout — mix small cups and trays to fit irregular items
- Vertical tray layout — use tall narrow compartments for spatulas and ladles
- Combination layout — flatware tray at front, deeper bins at back for bulky items
Sizing tips
- Keep flatware compartments 2–3 inches wide per stack of utensils.
- Allow 1.5–2 inches height for stacked forks and spoons.
- Reserve at least one long compartment for knives, whisks, or tongs.
My recommendation: Start with an adjustable tray and a small cup. Upgrade to bamboo if you want a tighter, nicer finish.
Maintenance and habits to keep it organized
A one-time setup is great, but habits keep it working. Small routines prevent backslide.
- Weekly quick tidy
- Spend two minutes realigning items and returning stray pieces.
- Monthly edit
- Remove broken items and donate unused gadgets.
- Use rules
- One new gadget in, one out. This slows clutter growth.
- Teach others
- Label spots and show family members where items belong.
My rule of thumb: If an item hasn’t been used in 12 months, consider whether it belongs in the drawer or in a storage bin.
Frequently Asked Questions of how to organize a utensil drawer
How do I start organizing a messy utensil drawer?
Start by emptying the drawer and sorting items into keep, donate, and toss piles. Clean the drawer, measure it, and place organizers based on use.
What is the best way to store knives in a drawer?
Use a dedicated knife tray or magnetic strip inside a drawer insert to keep blades separated and secure. Store sharp edges down and ensure the tray fits snugly.
How can I stop utensils from sliding around in the drawer?
Add a non-slip drawer liner and use snug compartments or small cups to hold items in place. Adjustable trays also reduce movement.
Should I keep specialty gadgets in the utensil drawer?
Store frequently used specialty gadgets in the drawer; move rarely used ones to a cabinet or box. Label the storage to find them when needed.
How often should I reorganize my utensil drawer?
Do a quick tidy weekly and a deeper edit every 3–6 months. Reorganize sooner after adding new tools or changing kitchen routines.
Can I organize a small shallow drawer effectively?
Yes. Use flat trays, stackable organizers, and vertical arrangements to maximize shallow space. Prioritize daily items and relocate bulky tools.
Conclusion
A tidy utensil drawer reduces stress and speeds up cooking. Follow a simple plan: empty, sort, measure, choose organizers, place by use, and habitually tidy. Start with one drawer today and you’ll feel the difference in minutes. Try the layout that fits your routine, share your results, or subscribe for more simple kitchen tips.