Freeze the bowl, chill your base, attach the bowl or gear, then churn on low until firm.
I’ve used and tested KitchenAid ice cream makers for years, teaching friends and writing guides that turn freezer anxiety into great homemade ice cream. This article explains exactly how to use kitchenaid ice cream maker step-by-step, covers prep, recipes, cleaning, and fixes for common problems so you get creamy results every time.
:max_bytes(150000):strip_icc()/KitchenAid_KitchenAttachments_IceCreamMaker_HeroSquare-69e0830dacf64623807477369c6540e6.jpg)
Understanding KitchenAid ice cream makers: types and key parts
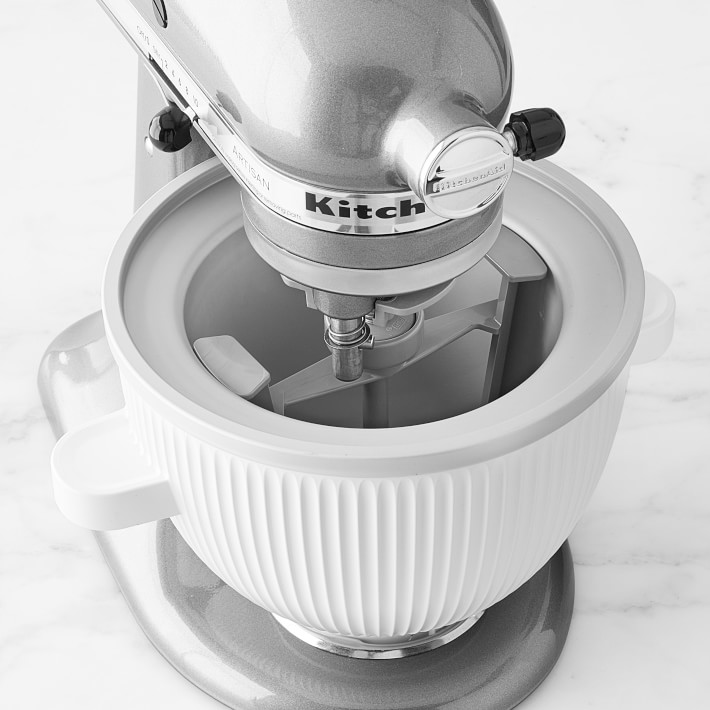
KitchenAid makes two common kinds of ice cream makers: the freezer bowl attachment that works with a KitchenAid stand mixer and standalone electric countertop models. Knowing which model you have matters when you learn how to use kitchenaid ice cream maker correctly.
Key parts to know
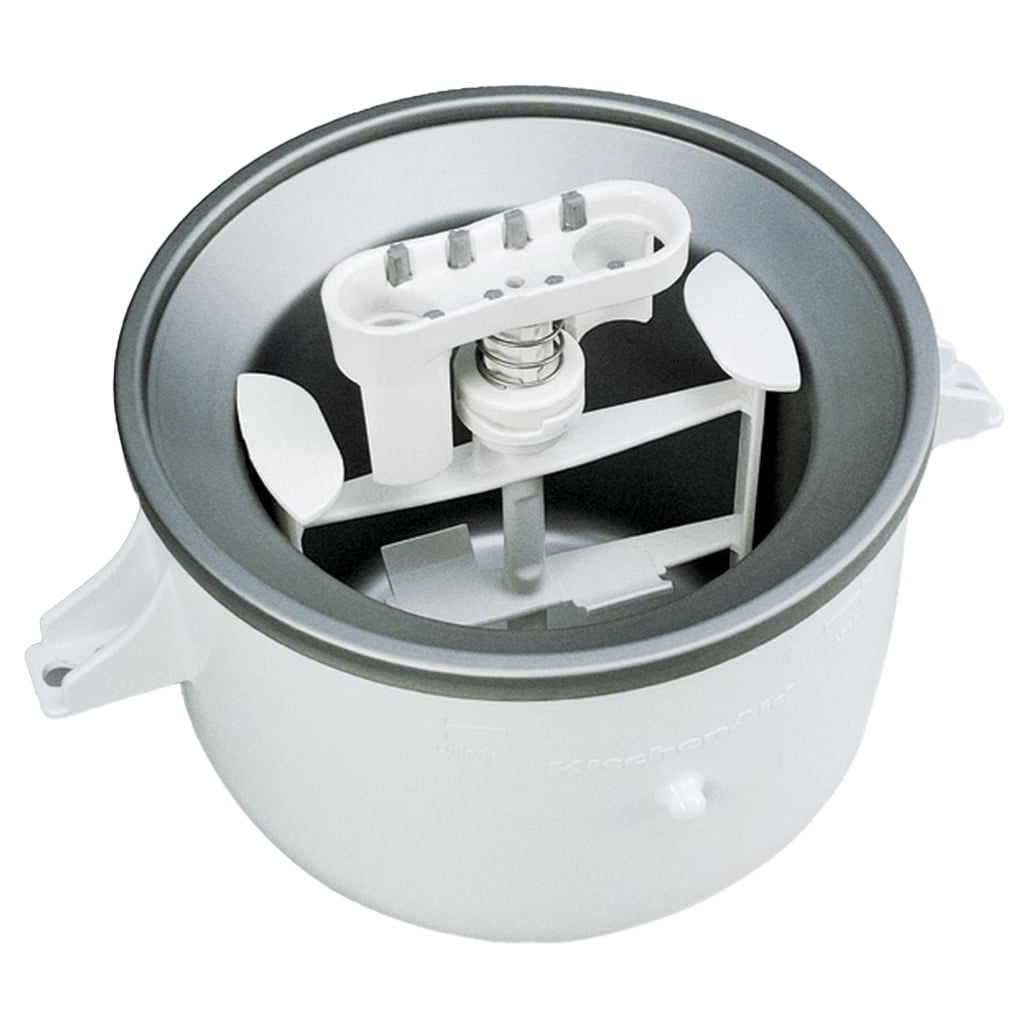
- Freezer bowl attachment: double-walled bowl with a freezing gel, dasher (mixing paddle), and outer bowl.
- Stand mixer connection: paddle, adapter or dasher that mounts to the mixer hub.
- Countertop machine: built-in motor, bowl, dasher, and lid with a pour spout.
- Controls: most mixer attachments use a low mixer setting; countertop models may have low/medium/high or preprogrammed cycles.
Why parts matter
- The freezer bowl must be fully frozen for proper freezing.
- The paddle design affects texture.
- Motor power and run times differ, so instructions change slightly by model.
How knowing this helps
- You’ll pick the right prep time and steps.
- You’ll avoid wearing out the mixer motor or overworking the bowl.
- You’ll get the texture you want, from soft-serve to scoopable ice cream.
Before you start: prepping the machine and ingredients
Good results begin long before churning. Plan ahead and prep both the freezer bowl and the ice cream base.
Freezer bowl prep
- Freeze the bowl 12 to 24 hours. Longer is safer; aim for 24 hours if space allows.
- Store the bowl upright in the coldest part of your freezer.
- Avoid partial freezes—if the bowl partially thaws, put it back for 24 hours.
Chill the base
- Chill custard or cream base for at least 4 hours, better overnight.
- Cold base freezes faster and yields smaller ice crystals and creamier texture.
- If you use hot-cooked custard, cool it quickly in an ice bath, then refrigerate.
Ingredient readiness
- Measure ingredients accurately.
- Soften frozen add-ins slightly (e.g., chopped chocolate) to avoid temp shocks.
- Alcohol lowers freezing point—use sparingly if you want scoopable ice cream.
Simple checklist
- Freeze bowl 12–24 hours.
- Make and chill base overnight.
- Attach tools and clear counter space.

Step-by-step: how to use kitchenaid ice cream maker (stand mixer attachment and countertop)
Here’s a clear, repeatable process for both attachment and countertop models.
For mixer attachment models
- Freeze the bowl for 12–24 hours and chill the base overnight.
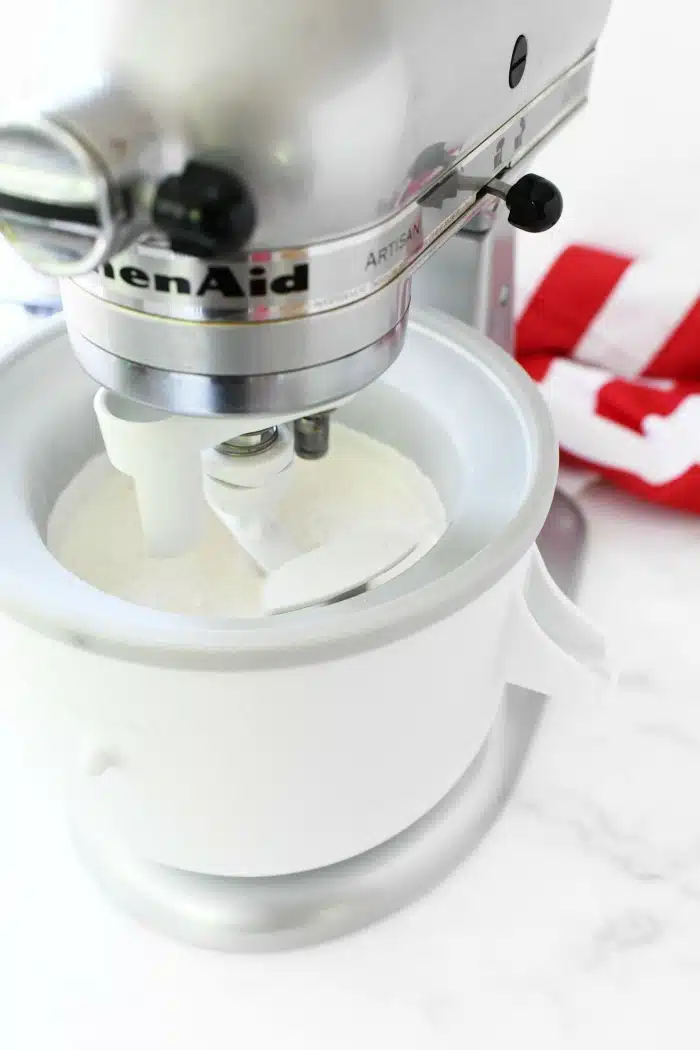
- Assemble the frozen bowl and dasher on the mixer per the manual.
- Turn the mixer to stir or low speed before pouring.
- Pour the cold base into the bowl through the pour spout while the mixer runs.
- Let it churn 20–40 minutes. Check texture after 20 minutes.
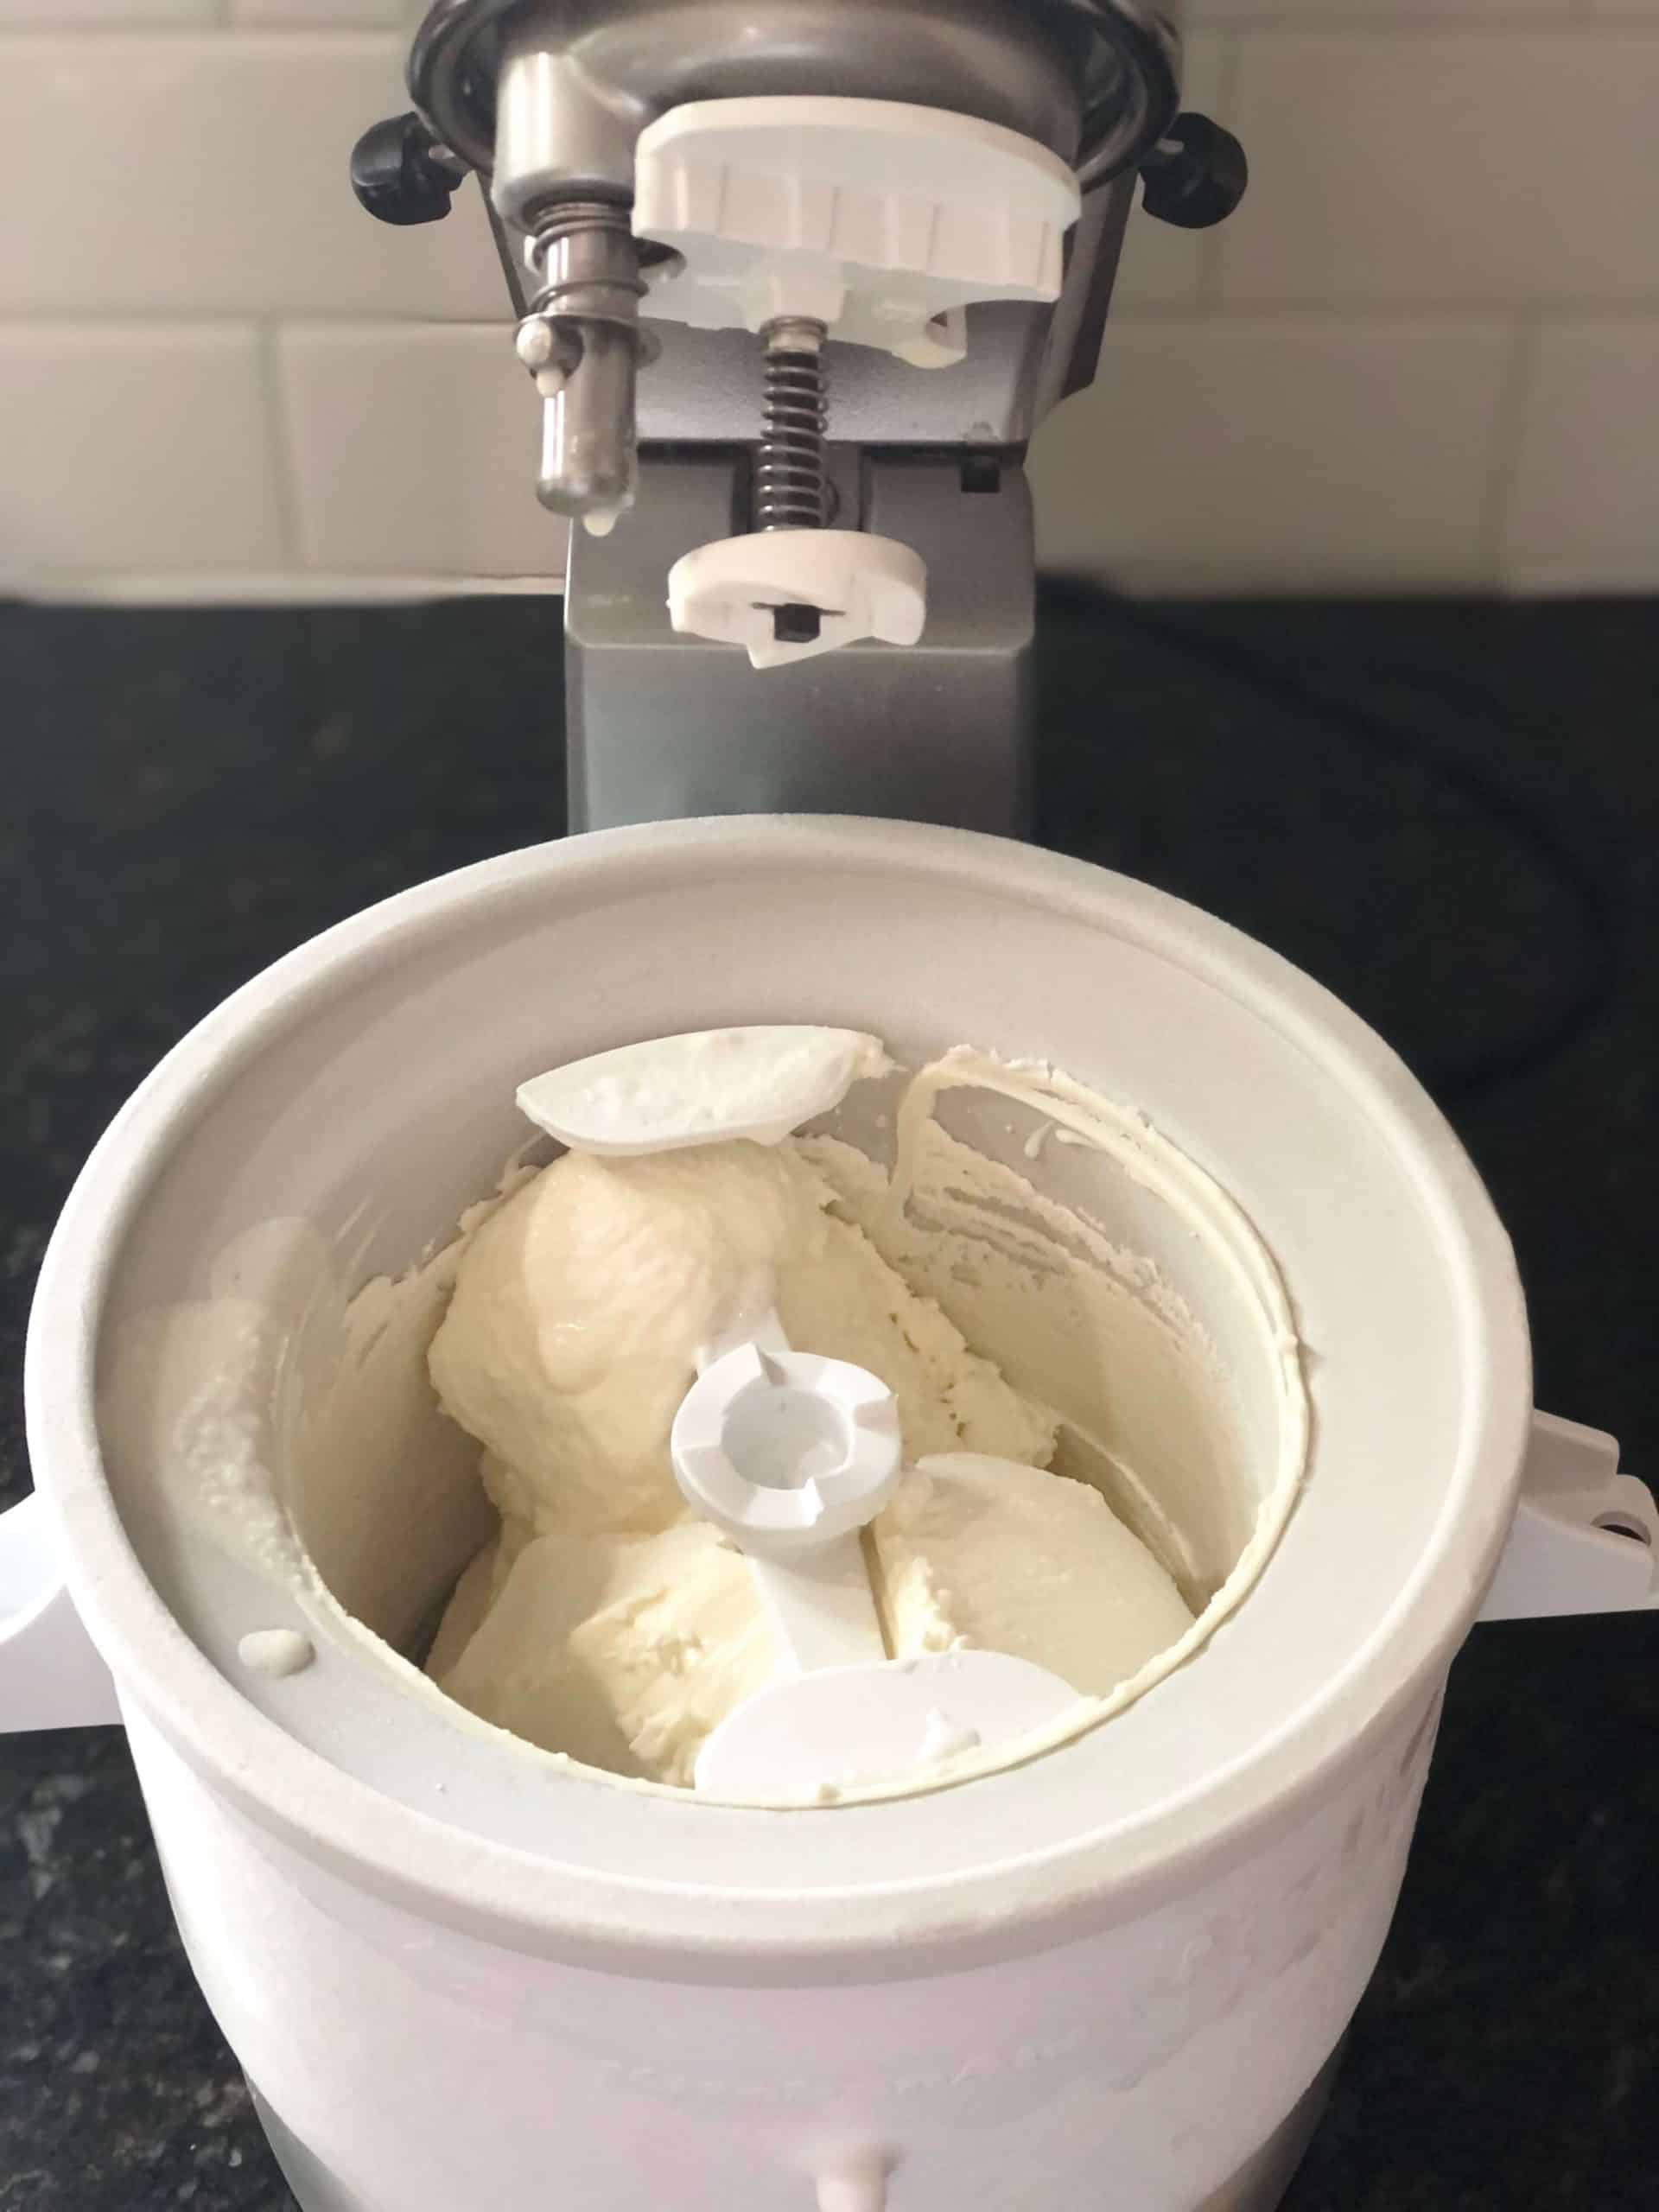
- When it looks like soft-serve, transfer to a pre-chilled container and freeze 2–4 hours for scoopable ice cream.
For countertop electric models
- Ensure the machine is on a flat surface and the bowl is cold if required.
- Assemble dasher and lid.
- Turn on the machine, pour the chilled base in through the lid.
- Churn for 20–50 minutes depending on model and recipe.
- Stop when mixture thickens and pulls away from the sides.
- Transfer to a container and harden in the freezer for 2–4 hours.
Timing and texture
- Soft-serve: stop at 18–25 minutes.
- Scoopable: 2–4 hours in freezer after churning.
- Sorbet: churn shorter, watch sugar content—too little sugar freezes hard.
Speed and heat tips
- Use low speed for attachment models to avoid splashing and to reduce heat.
- Avoid running long batches back to back without refreezing the bowl.
- If the mixer motor struggles, stop and let it rest.
Recipes and base tips: custard, Philadelphia-style, and ratios
Two main base types
- Custard base: eggs, milk, cream, sugar. Rich, smooth, and slower to freeze.
- Philadelphia-style: no eggs—heavy cream, milk, sugar; lighter and quicker.
Basic custard ratio (simple)
- 2 cups heavy cream, 1 cup whole milk, 4 egg yolks, 2/3 cup sugar.
- Heat milk and cream, temper yolks, cook to 170–175°F, chill, then churn.
Philadelphia-style quick base
- 2 cups heavy cream, 1 cup whole milk, 3/4 cup sugar, pinch of salt.
- Whisk until sugar dissolves, chill, then churn.
Flavor and add-in tips
- Infuse flavor by heating milk with vanilla pods, coffee, or herbs, then strain.
- Add mix-ins (nuts, chocolate chips, cookie pieces) in the last 3–5 minutes of churning for even distribution.
- Use sauces (caramel, fruit purees) swirled in after churning for ribbons.
Low-fat and dairy-free
- Use higher sugar or stabilizers (gelatin, cornstarch, xanthan) to avoid icy texture.
- Coconut milk works well; chill thoroughly before churning.

Troubleshooting common problems and fixes
Problem: Ice cream is icy or grainy
- Cause: Base was too warm or churned too slowly.
- Fix: Chill base longer, freeze bowl fully, churn until texture thickens; consider adding 1–2 tablespoons alcohol or a small stabilizer.
Problem: Mixture won’t firm up
- Cause: Bowl not frozen enough or recipe too high in liquid/low in fat.
- Fix: Refreeze bowl 24 hours, remake base with more cream or stabilizer, or freeze longer after churning.
Problem: Mixer stalls or strains
- Cause: Overfilled bowl or too thick mixture for motor.
- Fix: Reduce batch size, run on lower speed, let mixer rest between batches.
Problem: Add-ins clump or sink
- Cause: Added too early or too cold.
- Fix: Add mix-ins near end of churning; warm sticky sauces slightly before ribbons.
Problem: Flavor weak after freezing
- Cause: Temperature dulls taste.
- Fix: Slightly increase flavoring or salt; taste the base cold before churning.

Quick Q&A (People also ask)
How long do I freeze the KitchenAid freezer bowl?
Freeze it 12 to 24 hours, ideally 24 hours, in the coldest part of your freezer for best results.
Can I pour a warm base into the bowl?
No. Always chill the base thoroughly before pouring; pouring warm base can melt the bowl’s gel and ruin texture.
How large a batch can I make with the attachment?
Most freezer bowls handle about 2 to 3 pints per batch. Overfilling reduces churn efficiency and strains the mixer.
Cleaning and maintenance
Daily cleaning
- Remove dasher and bowl and wash with warm, soapy water.
- Do not submerge the stand mixer head or motor.
- Dry parts fully before refreezing the bowl.
Long-term care
- Avoid dishwashing freezer bowls unless manual allows it; hand wash to protect gel.
- Store the bowl upright and dry.
- Check seals and paddles for wear; replace worn gaskets per manual.
Storage tips
- Store the bowl empty and upright; don’t store food in it between uses.
- If a bowl is compromised (leaks or dented), replace it—leaking gel ruins freezing.
Personal tips, common mistakes, and expert tricks
My real-world lessons
- I once chucked a partially frozen bowl into a batch and got slushy ice cream. Now I always keep a labeled spare bowl in the freezer.
- I learned to chill mix-ins and warm sauces before adding. That avoids melting or giant cold clumps.
Top tips I use
- Make bases a day ahead to develop flavor and ensure coldness.
- Use small batches for richer texture.
- Freeze your storage container in advance for quicker hardening.
Mistakes to avoid
- Don’t pour hot or warm base into the bowl.
- Don’t rush the freeze time of the bowl.
- Don’t overfill the bowl; follow your model’s capacity.
Expert trick for extra creaminess
- Add 1 tablespoon of vodka or liqueur for every quart to keep the ice cream scoopable straight from the freezer.

Frequently Asked Questions of how to use kitchenaid ice cream maker
How long should I freeze the mixer bowl before use?
Freeze the bowl 12–24 hours, with 24 hours recommended to ensure it reaches full freezing temperature.
Can I use the KitchenAid attachment with any mixer speed?
Use low or stir settings. High speeds can heat the mix and harm texture.
Why did my ice cream turn out soft and slushy?
Likely the bowl wasn’t frozen enough or the base was too warm when added. Chill both properly next time.
How do I add fruit pieces without making them mushy?
Fold in fresh or frozen fruit in the last 3–5 minutes of churning to keep texture intact.
Is it safe to store the freezer bowl in the freezer all the time?
Yes, but keep it clean and upright. Reserve a spare bowl if you use the freezer for other items often.
Can I make sorbet in a KitchenAid ice cream maker?
Yes. Chill the fruit puree and churn until set. Sorbets need less fat and churn faster.
Do I need to run the mixer before adding the base?
Start the mixer on low just before you pour. This prevents the base from pooling or freezing unevenly on the bowl walls.
Conclusion
You can get consistently great results when you know how to use kitchenaid ice cream maker: freeze the bowl fully, chill the base, use the right recipes and timings, and follow simple cleaning and troubleshooting steps. Try one small batch today, apply the tips above, and tweak flavors to suit your tastes. Share your favorite recipe, subscribe for more recipes and tips, or leave a comment and tell me what you made.