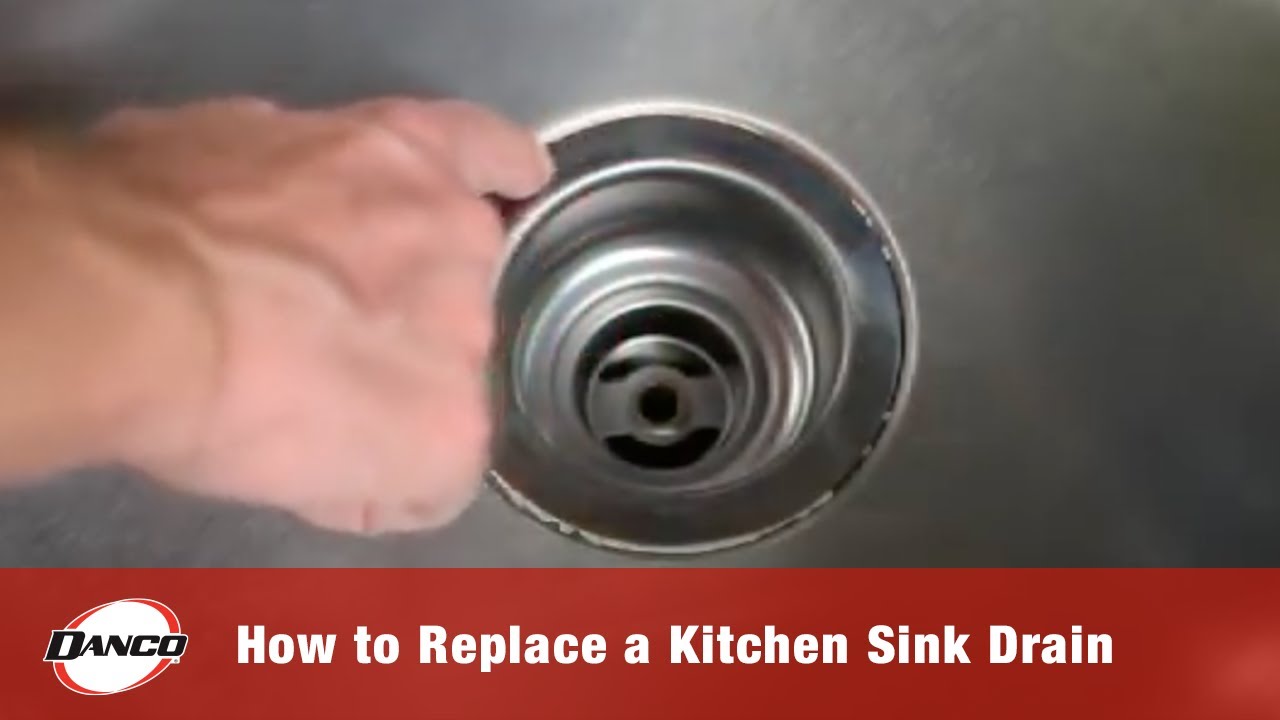
Remove the sink strainer by loosening the locknut under the sink and lifting the strainer out.
I’ve removed dozens of kitchen sink strainers, both metal and plastic, in homes and rentals. This guide on how to remove kitchen sink strainer shows step-by-step methods, tools, safety tips, and fixes for stuck or corroded strainers. Read on to learn simple, practical ways to remove a strainer cleanly and avoid common mistakes.

Why remove a kitchen sink strainer and when to do it
Removing a strainer helps clear clogs, replace damaged parts, or reseal leaks. A worn or corroded strainer causes slow drains, bad smells, and leaks under the sink.
Common reasons to remove the strainer:
- To clean heavy grease or mineral build-up around the flange.
- To replace a cracked or leaking strainer basket.
- To access the tailpiece and P-trap for deeper clogs.
- To upgrade to a new sink or a garbage disposal flange.
Knowing how to remove kitchen sink strainer saves money and avoids calling a plumber for simple fixes. I often remove strainers to inspect seals and catch small problems before they get worse.
Tools and materials you’ll need
Gather these before you begin. Working prepared speeds the job and reduces frustration.
- Adjustable wrench or channel-lock pliers
- Slip-joint pliers and a basin wrench for tight spaces
- Screwdriver set (flat and Phillips)
- Pipe wrench (if locknut is stiff)
- Penetrating oil (for rusted threads)
- Putty knife, utility knife, or scraper
- Plumber’s putty, plumber’s tape, or silicone sealant for resealing
- Bucket, rags, and gloves to catch water
- Wire brush or toothbrush for cleaning
- Flashlight or headlamp for underside work
Having the right tools makes how to remove kitchen sink strainer straightforward. I recommend a basin wrench for deep, hard-to-reach locknuts.

Safety and prep steps
Safety keeps the job simple and quick. Turn off water if needed. Clear under-sink storage to make space.
Prep checklist:
- Place a bucket under the drain to catch water.
- Wear gloves and eye protection for rust or debris.
- Disconnect the trap and tailpiece if you need more room.
- Use a flashlight to inspect the underside before you start.
Simple prep avoids mess and reduces the chance of dropping parts where they’re hard to retrieve.

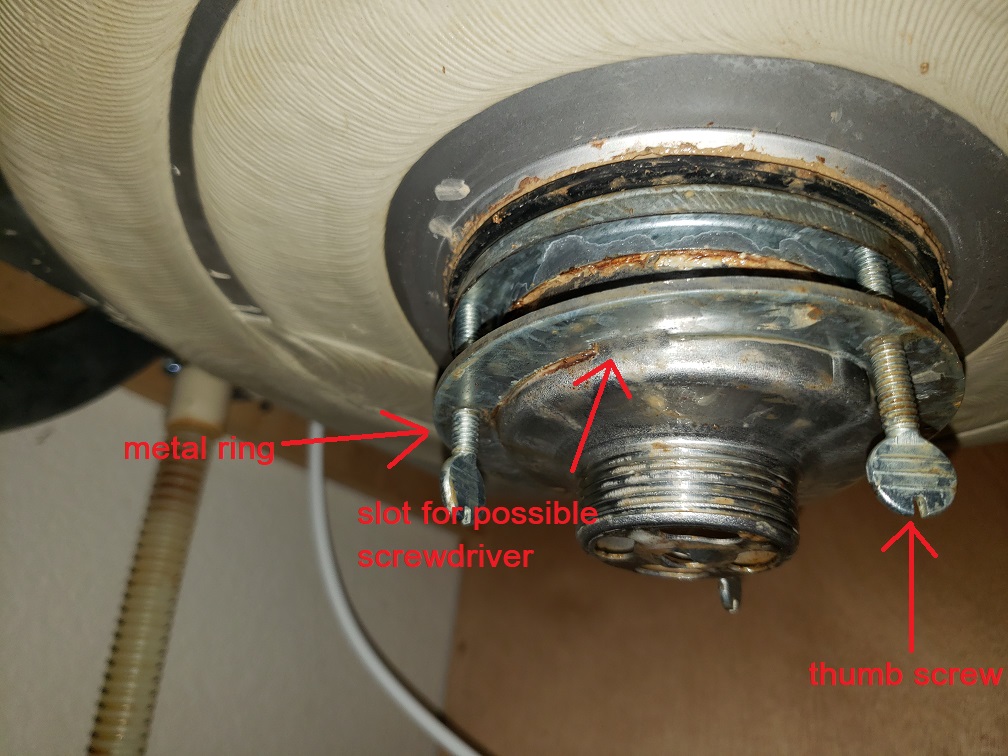
Step-by-step: How to remove kitchen sink strainer
Follow these clear steps. Pause if you meet resistance, and switch to the stuck-strainer tactics below.
- Clear the sink area and remove the strainer basket or stopper from the top of the sink.
- From under the sink, locate the locknut that secures the strainer body to the sink flange.
- Use channel-lock pliers or an adjustable wrench to loosen the locknut. Turn counterclockwise.
- If the locknut turns the wrong way or is stuck, hold the strainer from above with pliers while you turn the locknut.
- Once loose, unscrew the locknut and remove any washers or gaskets beneath it.
- Push up from under the sink on the strainer tailpiece and lift the strainer flange from the sink drain.
- Use a putty knife or scraper to remove old plumber’s putty or sealant around the flange on the sink top.
- Clean the strainer body, flange, and sink opening with a wire brush and rag.
- Inspect the rubber gasket and basket for damage. Replace parts if they are cracked or corroded.
- If reinstalling, apply fresh plumber’s putty and tighten the locknut by hand first, then snug with a wrench.
- Reconnect the tailpiece and P-trap, then test for leaks by running water and checking under the sink.
- Tighten further only if you see leaks; over-tightening can warp the sink flange.
I once removed a strainer where the locknut had been overtightened years ago. Holding the flange from above and using a basin wrench under the sink made the difference.

How to remove a stuck or corroded kitchen sink strainer
Stuck strainers are common. Rust, hardened putty, and cross-threaded locknuts cause trouble. Try these methods in order from least to most invasive.
- Apply penetrating oil to the locknut threads and wait 15–30 minutes before trying again.
- Use a basin wrench for extra reach and leverage on tight locknuts.
- Hold the flange from above with locking pliers while turning the locknut from below to prevent the whole assembly from spinning.
- If the flange and strainer rotate together, tighten the locknut a quarter turn to break the seal, then try loosening again.
- Cut through a badly corroded metal locknut carefully with a reciprocating saw or tubing cutter as a last resort.
- For plastic strainers, heat can soften the putty; run hot water to expand the flange and try loosening after warming.
- If threads are seized and nothing works, remove the tailpiece and free the drain assembly; this may allow you to unthread the strainer from above.
Be cautious with force. I once used a strap wrench to avoid scratching a stainless sink. That saved the finish and freed the stuck nut.

Cleaning, inspecting, and reinstalling the strainer
After removal, clean and inspect parts before reinstalling. A clean seal stops leaks and odors.
Cleaning and inspection tips:
- Scrape all old plumber’s putty from the sink around the drain hole.
- Clean the strainer flange with a wire brush and mild cleaner.
- Check the rubber gasket and paper or metal washer; replace if brittle or torn.
- If the strainer body is pitted or cracked, replace it rather than reinstall.
- Apply a thin rope of plumber’s putty under the flange or use silicone sealant as recommended.
- Tighten the locknut snugly by hand first, then use a wrench; don’t over-tighten.
I prefer plumber’s putty on metal sinks and silicone on porcelain. Test for leaks by running the faucet for a few minutes while watching under the sink.

Signs you should replace the kitchen sink strainer
Not every removal needs a reinstall. Replace the strainer if you see these signs.
- Visible cracks or holes in the strainer or flange.
- Severe corrosion or pitting on metal threads.
- Repeated leaks even after resealing.
- Strainer basket no longer fits or the stopper won’t seat.
- Hard-to-clean mineral build-up that compromises function.
Replacing an old strainer is cheap and prevents future leaks and damage.

Common mistakes and troubleshooting
Avoid these errors I’ve seen many homeowners make. Small fixes prevent big headaches later.
Common mistakes:
- Over-tightening the locknut, which warps the flange and causes leaks.
- Forgetting to place the gasket and washer correctly under the locknut.
- Reusing old, hardened plumber’s putty or damaged gaskets.
- Not placing a bucket under the work area and making a mess.
- Forcing parts without trying penetrating oil or a basin wrench first.
Troubleshooting tips:
- If you see leaks after reinstalling, loosen and redo the seal with fresh putty.
- If the locknut spins but the strainer won’t move, hold the flange from above while turning the nut.
- If threads are stripped, replace the strainer assembly rather than forcing repairs.
Quick questions people also ask
What tools make it easiest to remove a kitchen sink strainer?
A basin wrench and channel-lock pliers are the most helpful. A strap wrench or penetrating oil helps with stuck nuts.
Can I remove a kitchen sink strainer without going under the sink?
You need to access the locknut under the sink to remove the strainer fully. In some cases, you can replace the top basket but not the full strainer without going under.
How long does it take to remove and reinstall a strainer?
A simple removal and reinstall can take 20–40 minutes. Stuck or corroded parts may take longer.
Will removing a strainer damage my sink?
If you use proper tools and avoid over-tightening, you shouldn’t damage the sink. Use a strap wrench or cloth to protect finishes.
Should I use plumber’s putty or silicone to reseal the strainer?
Use plumber’s putty on metal sinks and silicone on porcelain or stone sink tops. Follow manufacturer recommendations when available.
Frequently Asked Questions of how to remove kitchen sink strainer
How do I remove a stuck kitchen sink strainer quickly?
Apply penetrating oil to the threads and wait 15–30 minutes. Use a basin wrench for leverage and hold the flange from above while turning the locknut.
Can I cut out a metal locknut if it won’t budge?
Yes, cutting a metal locknut is an option of last resort. Be careful to protect the sink and stop if you risk cutting into the sink itself.
Do I need to turn off the water to remove a sink strainer?
You generally do not need to turn off the main water supply, but place a bucket under the drain and disconnect the P-trap to avoid spills.
How do I seal the strainer when reinstalling?
Use plumber’s putty or silicone around the flange per the sink material. Tighten the locknut snugly and check for leaks.
Is replacing the strainer difficult if threads are damaged?
Damaged threads usually mean replacing the strainer assembly. In some cases, a skilled plumber can repair the sink drain, but replacement is often simpler.
Conclusion
Removing a kitchen sink strainer is a manageable DIY task with the right tools and care. Follow the step-by-step process, use penetrating oil on stubborn nuts, and replace damaged parts to prevent leaks. Take your time, protect the sink finish, and test for leaks after reinstalling. Try these steps on your next sink project and share your results or questions below — or subscribe for more practical home repair guides.